| we ship to: |                                      |
| we ship to: | |

Connecting your MacBook to a Wi-Fi network is usually easy — you just click the icon and select a network. However, this process may not always go as planned. In this article, we'll look at the main reasons why your MacBook won’t connect to Wi-Fi, and provide you with a step-by-step guide on how to solve the problem of the internet not working on macOS.
Your MacBook can't connect to Wi-Fi due to technical and software issues. Some of the main causes of MacBook wireless internet not working are as follows:
If there is no physical damage to the Wi-Fi module, you can try to solve the problem even without any experience of this kind. Just read our recommendations and follow the step-by-step instructions to how to scan and how to fix Wi-Fi connection issues on MacBook.
First, you need to check if your Wi-Fi network is working. A simple way is to try connecting other devices to it. If they connect, then the problem is most likely with your MacBook. In case other devices can't connect to the wireless internet either, the Wi-Fi is the cause.
If Wi-Fi is not working, try the following:
If the MacBook is not connecting to Wi-Fi, make sure your Apple Laptop isn't too far away from the router. You should also avoid placing it behind thick walls, and it's best to place it in the center of your house or apartment.
In addition, make sure that nothing interferes with the operation of the router. Do not place it near electrical cables, smartphones, video cameras, microwave ovens, or other devices that transmit electrical signals. Turning off Bluetooth also helps in some cases because its signals interfere with Wi-Fi.
Sometimes a MacBook turned on for a long time can trigger certain processes and interfere with your Wi-Fi connection. First, to scan a MacBook for Wi-Fi issues to see if Wi-Fi is turned on,click the icon in the macOS menu. If it's on, its icon will appear arced, if it's not, it will appear with a slash across the icon or blank.
If the network does not work, select the Wi-Fi symbol and click the switch. Your MacBook displays the available connections and automatically connects to any it connected before. If there are no networks listed, you should select one manually.
Another option is that you may try to connect to the network that is not yours. In this case, click on the Wi-Fi icon and select your network from the menu.
Sometimes installing a new version helps to solve problems with MacBooks not connecting to Wi-Fi properly.
How to update macOS:
Also: What is macOS Sonoma and how to install it on your MacBook
Try removing the network from your device memory. You can do this in your MacBook's network settings as follows:
Reconnect to Wi-Fi manually by clicking on the network icon and then select the needed network.
When connecting to the Internet, the router uses one of several channels. Sometimes the current channel is overloaded or runs with interference. In this case, changing it will help to solve the problem of MacBook not connecting to Wi-Fii.
To change the channel, you need to know the IP address of the router. You can find it in the TCP/IP tab in the settings.
Copy and paste the IP into the address bar of your browser. This will allow you to enter the router settings using the router password. If you have forgotten the password and have not changed the preset one, you can find the standard one using a Google search by router model. Then you need to go to the Wi-Fi settings, find the list of channels and select the one you want to use.
TCP/IP settings determine how your MacBook communicates with other devices. Check the license terms for DHCP, which is responsible for assigning IP addresses.
How to renew your license:
Also: What to Do If Your MacBook USB-C Ports Are Not Working
DNS is used to map website domain names to IPs. Sometimes changing DNS servers can help you connect to the Internet. If you have macOS Ventura installed on your MacBook, you need to connect to a network to change the DNS server.
If successful, follow the further instructions:
For devices running macOS Monterey or earlier:
VPNs can sometimes malfunction by blocking traffic or causing your MacBook to search for a Wi-Fi network with the wrong IP address.
Disable VPN:
Start "Wireless Diagnostics" (Cmd + Spacebar). Follow the instructions on the screen. When finished, all errors will be logged in the logbook, which can be used later by a technician to fix problemы with Wi-Fi i on MacBook.
To reset and restart NVRAM/PRAM (the section of memory with settings):
The SMC is responsible for various functions, so resetting the controller can sometimes help troubleshoot wireless network connectivity problems, including MacBook Wi-Fi issues .
Reset on a MacBook with Apple T2 (2018-20 models):
On pre-2018 models that have a non-removable battery:
On a MacBook with a removable battery:
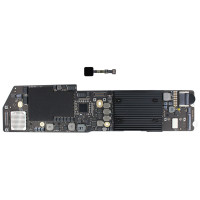
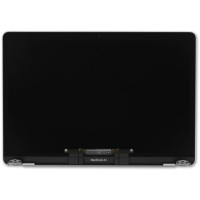
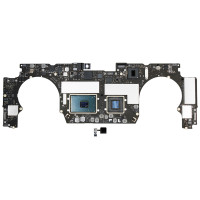
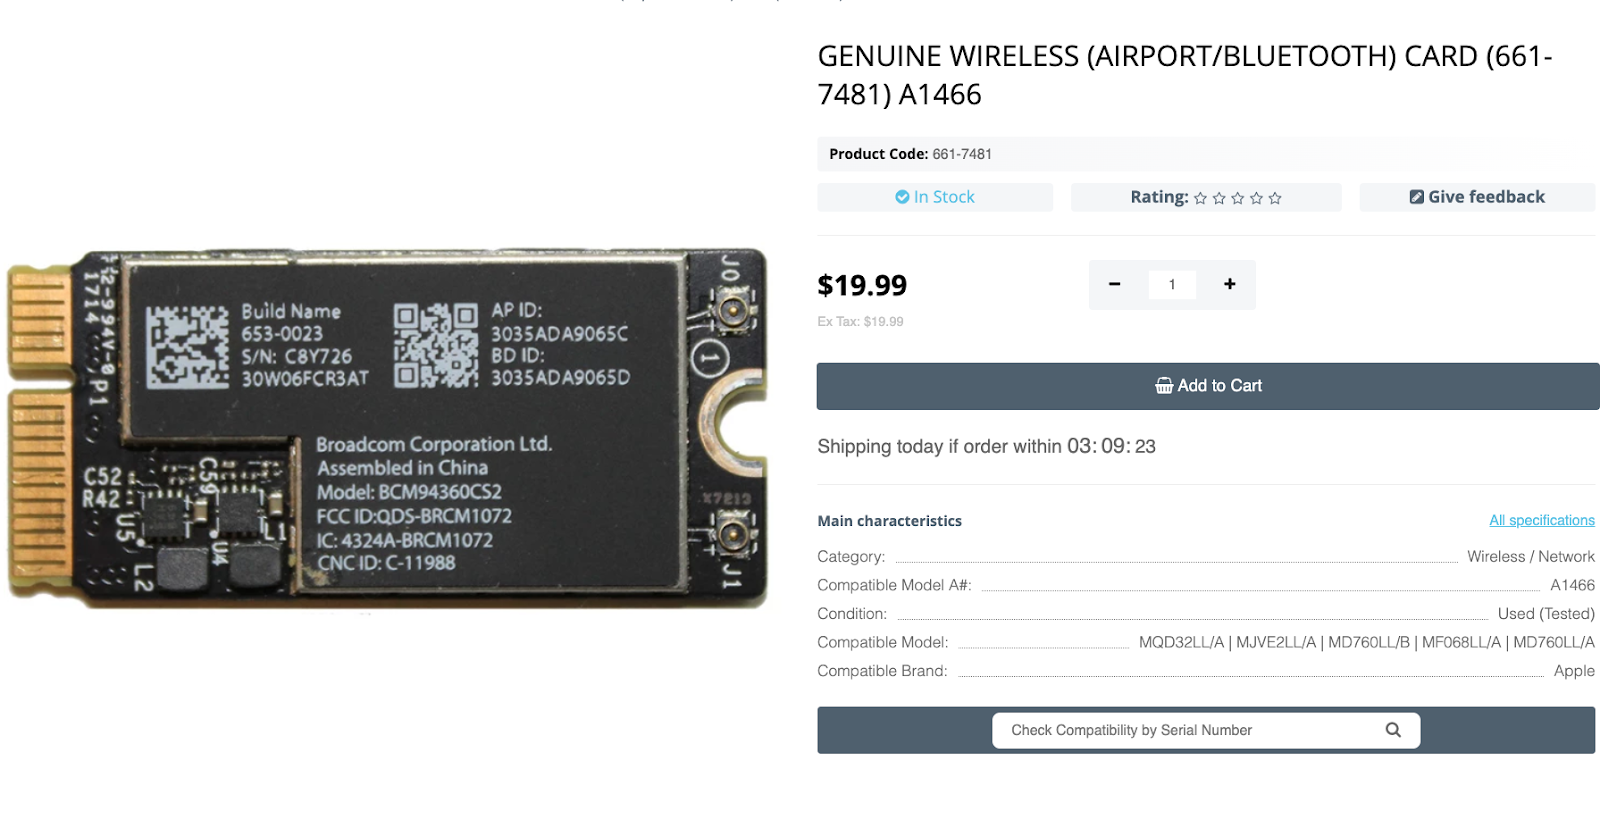
If the problem with MacBook not connecting to Wi-Fi remains, you may need to replace the built-in Wi-Fi module. You can find original parts for different MacBook models on the Apple Parts website. All parts are guaranteed from the Apple manufacturer. Before being released for sale, parts are tested in the technical department.
If you're not sure you can replace the part yourself, you can order a MacBook repair at Apple Parts by mail. Send us your device, receive a diagnostic report, invoice and pay for the service. After the repair, you'll get your MacBook back in 1-2 days.

|
ABOUT THE AUTHOR
Volodymyr Chubei Volodymyr was born in Ukraine and has found his passion for electronics from his childhood. At the age of 13, he was capable of soldering some basic elements of a logic board and today he is one of the co-founders of MacNest.com |

If you don't store large files on your MacBook, but you've noticed that m...
Read More

Apple laptops sometimes fail and malfunction when MacBook Touch ID is not w...
Read More

Owners of Apple Laptops may face a situation when a MacBook camera is not w...
Read More

USB-C ports are necessary for connecting peripherals and a power source to ...
Read More